Part 1: Repair
My father was born to a poor farm family in the waning years of the Great Depression. Thus, he raised me with the same mentality he was taught: eat it up, use it up, wear it out. My mother was educated as a home economics teacher; therefore, I was taught to sew at an early age. This went about as well as bathing a cat. I didn’t have the patience for something so tedious, and I often wanted to just wear jeans instead of the homemade clothes she made me. We were a family of DIY-ers long before it was a thing. I was raised in an environment that eschewed over-consumption because of mentality, cost, and because planned obsolescence had not yet gained momentum.
However, as tends to happen, I gained appreciation for the importance of these lessons as an adult—both the tangible (I now love to sew and make my own hiking dresses, among other things), as well as the intangible. The mindset of consuming only what you need, reusing what you have, and maintaining items so that they last a long time is ingrained into me. Now that more people are coming to the realization that we cannot continue along the path of consumption and synthetic production that we’ve been on for decades, I am finding that widespread interest in these topics is growing.
In a previous post on this blog, I discussed the importance of reducing microplastic waste by switching to natural fibers for active wear and daily life. In that summary, I touched upon the tenets of using an item to its fullest extent, repurposing it, and disposing of it only when it can simply no longer be used. In this piece, I’m going to expand upon ways you can maximize the use of your active wear and gear through care and repair in order to save yourself money on replacements, reduce what goes into a landfill, and—in a follow-up post—how to repurpose items to keep them out of the trash longer.
The most essential way to ensure items last a long time is to take good care of them.
The most essential way to ensure items last a long time is to take good care of them. This involves cleaning them according to manufacturer directions after use and at the end of the season before storage, promptly making repairs, and storing them properly. I recently wrote a piece all about end of season care and storage for TrailSisters.net. Remember that anything with exposed zippers needs to be thoroughly cleaned at the end of the season (including tents) to ensure that dirt and grime don’t build up in the zipper and compromise it. The only exclusion to this is for down items since they are more fragile and shouldn’t be laundered often.
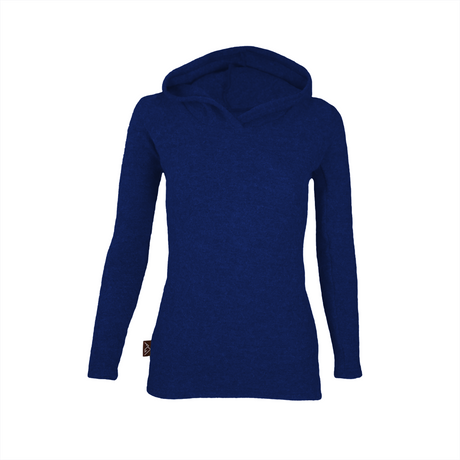
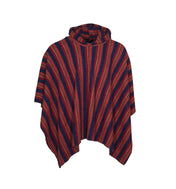
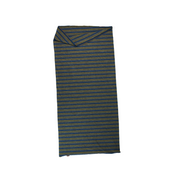
The second most important thing you can do to prolong the life of gear and technical apparel is change your mindset from appearance to functionality. In short, if it isn’t broken beyond repair, don’t replace it. Durability is frequently cited as a deciding factor in purchase-making decisions, and yet so often functional items are replaced because of stains, sun bleaching, or other cosmetic issues that do not impact their performance. The temptation to get something new based on looks is strong, and it takes practice to cultivate a gratitude mindset around things that are well worn but still serve you. Hand in hand with this mindset shift is selecting items that you will want to use for a long time, even once they’ve been heavily used. One example of this is to choose natural fiber fabrics for your activewear. Their anti-stink properties will lessen the urge for you to toss them long before their lifespan simply because of unremovable funk, which happens with many synthetics.
The temptation to get something new based on looks is strong, and it takes practice to cultivate a gratitude mindset around things that are well worn but still serve you.
The third thing is to make repairs. When considering replacing a damaged or broken item, first ask yourself if it can be fixed. Often the case is yes. Below we’ll discuss various basic repair techniques and options that will make repairing your gear easier and, therefore, keep your items in use longer. This saves money and the environment. If the item can’t be repaired, hang onto it for part two of this series, where we will focus on upcycling.
As discussed, sewing is the basis of many repairs, especially on clothing or other fabric gear items such as stuff sacks, tents, and backpacks. Large and straightforward tears or holes can be done on a sewing machine, if you have one. Smaller or irregular tears should be done by hand. It can take a lot of practice to get comfortable with sewing techniques, but it is well worth it. Once you can do basic stiches and repairs, such as sewing a button on, you’ll be surprised at how good it feels to make these fixes.
If you can’t sew or hate to, trust me, my 11-year-old self completely understands. In fact, although I enjoy sewing now, I still loathe mending. My hand stitching is messy, and my mending basket is always overflowing. But, despite that, I take the time to fix things as promptly as I can before they are returned to use. The longer you use an item with a tear, hole, or other problem, the harder it will be to remedy when you finally do get to it.
Bear in mind that load-bearing repair work, such as a compromised backpack strap, will need to be done with a heavy-duty sewing machine. Since most of us don’t have one, contacting repair companies (more on this below) that are skilled in such repairs will likely be necessary. Repairs done by hand in the field will probably not hold long term, although knowing how to make these temporary fixes is important for comfortably hiking out of a broken pack situation!
If you don’t know how to sew and don’t have friends or family that would be willing to teach you, there are a plethora of online tutorials available. In addition, many sewing stores offer classes to teach beginning sewing techniques either on machine or by hand. Your local learning center or community college may also have classes.
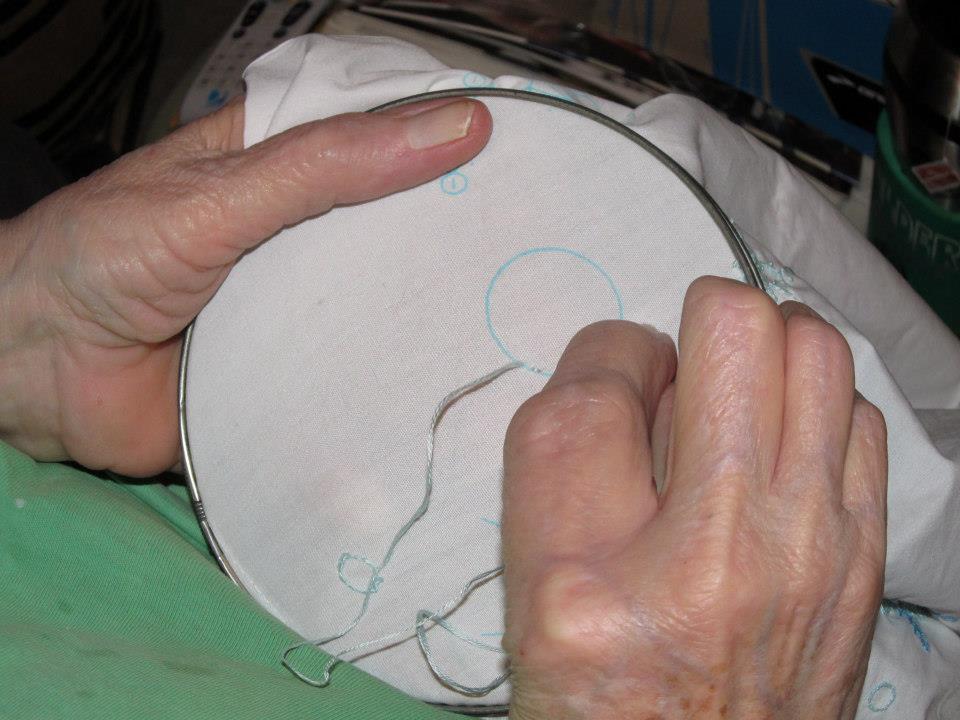
Aside from basic sewing, there are a few specialized techniques worth learning. Darning is a nearly forgotten hand-sewing technique used to repair wovens. I remember watching my mom darn socks as a child and being fascinated by the wooden darning “egg” she used. Darning is definitely a fussier repair than general sewing, but when done right, it repairs small to medium holes without puckering or gathering in the fabric.
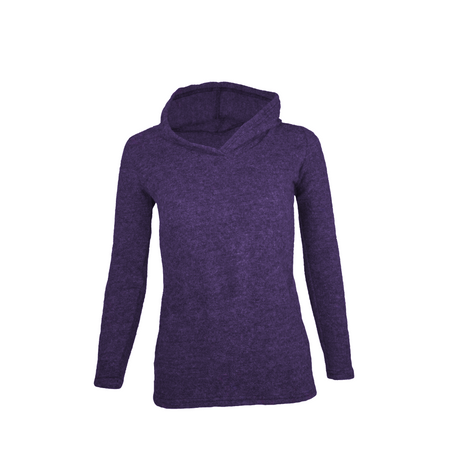
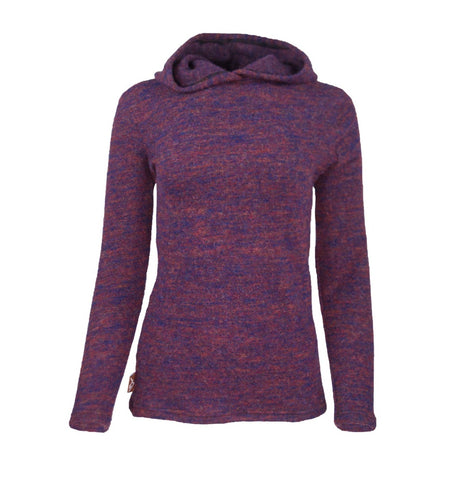
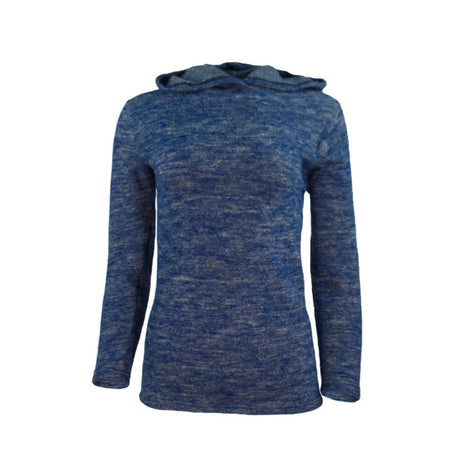
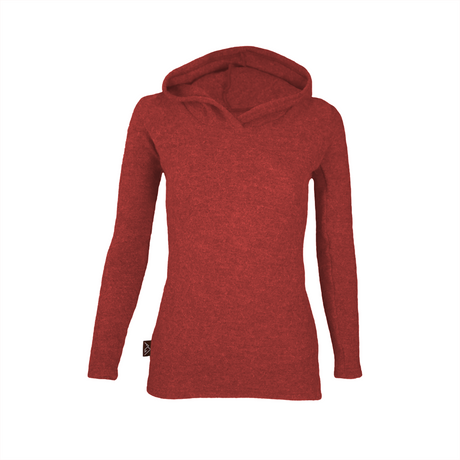
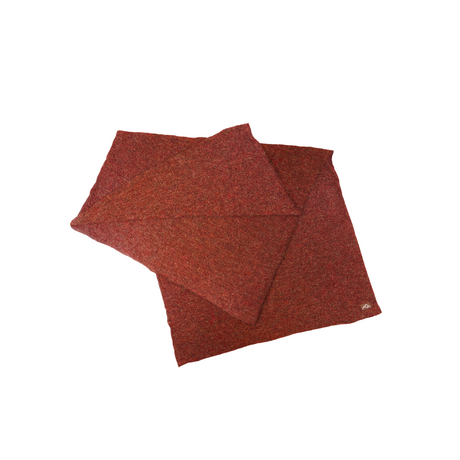
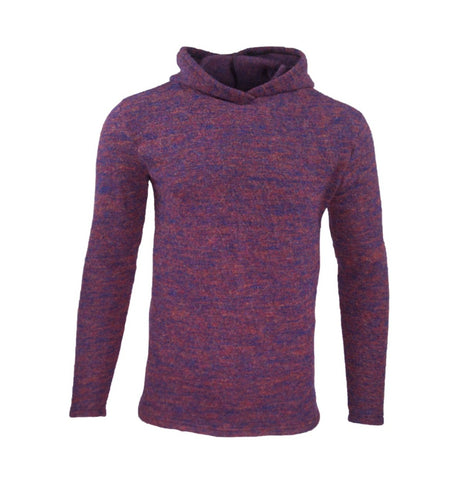
Darning is essentially a manner of weaving new fabric over a hole in an existing piece. It’s done by carefully matching thread color and stitching in a crosshatch manner over the hole until it’s repaired. This is an ideal method for fixing small holes in socks and your favorite All-Paca garments. A very thorough tutorial on darning can be found here.

Patching is another method of repair that can be done with basic sewing knowledge. It should be used to repair larger holes that simple stitching or darning cannot fix. Patching can also be done preemptively to high wear areas like the elbows (hence the leather ovals often seen on the arm backs of men’s blazers).
Patching is always a visible repair, so give some thought to how you want your finished piece to look. Visible mending is the fabric equivalent of the Japanese technique of Kintsugi, where broken pottery is repaired with gilded lacquer. The concept is that, despite a broken original form, true beauty lies in the healing. Embracing visible mending as a repair technique can greatly assist with the second aspect of longevity above—mindset shift. By patching with an eye toward the new beauty you’re creating, you can find a renewed appreciation for the item you’ve repaired as a piece of your own art.
To use the patch method, select a fabric with the same qualities as the damaged item. This doesn’t mean that is has to match in color; in fact, it is often preferable to choose a contrasting fabric for the aspects of Kintsugi mentioned above. However, the weight, stretch, fabric content, and thread count (how many threads are in a square inch, i.e., the tightness of the weave) are important for patching. For instance, you wouldn’t use a piece of canvas to patch a sil stuff sack, or a piece of sil to patch a pair of spandex shorts.
Cut the patch about a half inch larger than the hole being repaired. It’s ok to use a much larger patch the first few times until you get used to the technique. You can always trim off excess before you stitch it down. Place the patch over the hole on the inside of the damaged item and pin it in place. Make sure that the fabric lies smoothly without any wrinkles or bunching.
Then stitch around the patch, making sure that the fabric it’s being stitched to is not weakened or the patch might simply tear free. Once the patch is securely in place, you can trim away any excess patch leaving about ¼ inch outside the stich lines. You can also trim the damaged fabric to within ¼ inch of the stich line from the front if you like. I also use a permanent fabric glue called Fray Check when patching, but this is optional. I spread a small amount on the edges of the hole and the patch to keep the fabric from unraveling. Alternatively, before stitching, you can follow the instructions below for a preemptive patch (attaching either to the inside or outside of the garment). By doing this before sewing, you will seal away the edge that could ravel, obviating the need for something like Fray Check.
The method is almost the same for preventatively reinforcing high wear areas before they develop a hole. In this case, you’ll want to utilize the hemmed technique listed above by cutting the patch about ½ inch larger than the area you want to reinforce. Then fold back ¼ inch all the way around the patch and iron it so that it stays folded under. Place the patch on the outside of the garment being reinforced, keeping those flaps tucked under. Sew ¼ inch from the edge. This keeps your patch from developing frayed edges. As I mentioned, you can also use this method for patching over holes if you don’t want to see the hole at all.
If needlework is simply out of the question for you, there are two options. One is to use gear repair tape or permanent glues to adhere patches or cover holes. These will typically hold up to multiple washings but will need to be redone after a while. The other option is to utilize one of the many commercial options out there. Most dry cleaners do sewing repairs. You could also find a local tailor or a friend or family member that can do the mending. If you go this route and are having a repair done on an expensive item such as a technical jacket, sleeping bag, etc. or a load-bearing repair such as a pack strap, make sure the person doing the repairs is experienced with the types of fabric being mended and has the proper equipment.
Alternatively, there are a lot of dedicated gear repair companies these days, such as Rainy Pass Gear Repair in Seattle. Often companies that offer professional down cleaning will also repair your item. Sometimes manufacturers also offer gear repair, which is not limited to sleeping bags or clothing. Air mattresses, tents, backpacks, etc. can often be repaired by the manufacturer or a third-party gear repair company. Using these services will likely result in shipping your items back and forth (which means sending multiple items in at a time is better) unless you live nearby. These are certainly more expensive options than doing it yourself, but they ultimately maintain the usefulness of your already purchased item longer, which is cost effective and more sustainable in the long run.

Manufacturers are also ideal to contact if a small part is broken that you can easily replace yourself, such as trekking pole tips, buckles or other clips, guy lines, etc. Most of them sell or provide these replacement pieces.
Speaking of professional level maintenance, some repairs beyond sewing to consider before replacing a damaged item include re-waterproofing, re-laminating, cobbling, and professional cleaning. Some of these things can also be done at home if you have the right products and skills to do so.
The company Nikwax sells a variety of waterproofing and technical detergents, including down wash. If you have the time, skills, and desire to do so, you can fairly easily re-waterproof jackets, tents, and pants, etc. If it’s the seams that are leaking, you’ll need to purchase some gear repair tape designed for the purpose. If the entire thing is delaminating, it can’t be revived (but don’t throw it away yet!). Alternatively, there are companies who can do these processes for you.
Most down bags and garments will last an exceptionally long time; however, body oils and dirt that work their way into the feathers will degrade loft and insulative properties. Quite often the item isn’t worn out, it’s simply in need of a thorough cleaning.
With a front-loading washing machine and down detergent, you can also revive your sleeping bags, jackets, etc. rather than purchasing new. Most down bags and garments will last an exceptionally long time; however, body oils and dirt that work their way into the feathers will degrade loft and insulative properties. Quite often the item isn’t worn out, it’s simply in need of a thorough cleaning. Washing down is very time consuming and may require several times through the wash. Therefore, if you have to go to the laundromat to do so, it’s probably in your best interest to send it to a professional. If you don’t rinse the item thoroughly or tear baffles, you’ll actually do more harm than good. Luckily, down does not need to be laundered often, only when performance is being impacted.
All of these fabric techniques can be used on garments, tents, packs, and other fabric-based gear items. Be certain that if you’re stitching on a waterproof item, such as repairing a guy line on a tent, that you aren’t compromising the waterproofing. Applying seam seal over your stiches can solve that problem. Gear repair tape such as Gear Aid is a fantastic multipurpose repair item for fabric, as well. I always carry this in the field for emergency repairs to fabric items such as tents and clothing.
While many of us hike in trail running shoes, those that use boots can often extend the life of them by visiting a cobbler to have them resoled. This can double or triple the life of your boots.
Another tip for prolonging the longevity of your gear is to store your water bladders in the freezer to avoid mold issues. Especially if they use hoses and bite valves, mold is frequently the reason for tossing otherwise functional bladders.
Don’t be afraid to get creative with your repairs as well! A couple of tips that fall somewhere between repair and repurpose are to cut the damaged lower legs off of a pair of pants or tights and continuing to use them as shorts or capris (you’ll need to hem them or use fray check to keep the new edge from raveling). Wear that worn out rain jacket from above as a windshirt. And, until you swap your whole wardrobe to alpaca and natural fibers, cut the sleeves out of stinky synthetic shirts, converting them to tank tops (again hemming any seams you might have cut through). You might be amazed to realize that the stench in the polyester was located only in the pits!
In the next installment of this post series, I’ll be talking about ways to repurpose gear items when they can no longer be used for their intended purpose. Until then, hang on to all those unrepairables!
~
Heather Anderson is a National Geographic Adventurer of the Year, three-time Triple Crown thru-hiker, and professional speaker whose mission is to inspire others to “Dream Big, Be Courageous.” She is also the author of two hiking memoirs Thirst: 2600 Miles to Home and Mud, Rocks, Blazes: Letting Go on the Appalachian Trail and a preparatory guide to long-distance hiking Adventure Ready. Find her on Instagram @AnishHikes or her website Anishhikes.wordpress.com.